Monday, January 27, 2020

Happy Scrappy quilt top, finished

Today I finished my first quilt top of 2020. After sewing everything together I have a square of about 41", a very good sized baby blanket. I am enjoying the somewhat scrappy, somewhat ordered look of this so far. 


Happy to report that despite my griping, the trimming was totally worth it. My points all lined up effortlessly and all of the sections were well behaved as I assembled them into the larger whole. I sewed each quadrant of HSTs together into rows first then added row to row until the 4x4 square was complete. The flying geese panels went together quickly, and then I just attached the top quadrants to its geese panel, same with the bottom, and then the middle square in one long strip between its two geese panels. Then those three pieces got attached to make the whole thing. I did pay attention to be sure my seams and points were lined up and well behaved, but it didn't take much. Thumbs up. 


I took some of the leftover pieces and improv pieced my way through a back. I started with the smaller scraps of prints and randomly pieced them together with minimal trimming. That resulted in a very cool looking patchwork panel that I then added larger scrap pieces to until I had a 44" square back. There is a nice big section of the gray dotted flannel on there, so it should be a cozy little blanket. Basting, quilting, and binding left!

Saturday, January 18, 2020

trimming down

Trimming blocks is the least best part of quilting. I say that because quilting is all pretty great, but I've never really loved trimming things up. We try to be perfect about it, but with ruler wiggles and seam folds and all the "reality" involved in making these things we draw out on paper, is there ever really a perfect block? Regardless, I trimmed. 


Obviously the flying geese required trimming, and this handy dandy ruler I got for my birthday this year really makes it quite doable and fun. Cut 1-2, flip, cut 3-4, done! More of these in my future, for sure. I've always wanted to make an all-flying-geese quilt. 


Squaring up all of those HSTs was less fun, but no less important. I've always kind of winged it and trusted that I could make adjustments as I've sewn, but really why not just do this very simple thing and give myself a better chance of everything lining up without fudge? After trimming up all of these blocks yesterday, I will say that having the space to spread out and the right height work surface (the counter height cabinet) makes it not at all terrible. A ringing endorsement, indeed. 


Wednesday, January 15, 2020

getting scrappy

There's a quilt project brewing in the craft room again! I had a fun time scrap diving to find these big pieces of warm and cool fabrics. I had forgotten I had all of these, to be honest. I have jars of scraps on the shelves with smaller bits, but my opaque can full of these larger cuts has sort of travelled with me in relative anonymity. 


I also found some leftover neutral fabric and enough linen pieces to end up with enough background squares for my half square triangles. Originally I thought about making the HSTs half cool and half warm, but after finding the perfect amount of this off white, I figured I'd use it. Also this way there will be more visual space in the quilt.


I am improvising this based off of a design I came across on Pinterest. The Pinterest link didn't work (so many of them don't anymore!) but through some determined googling I did end up finding the original designer of the quilt who posted the piece as part of a blog hop to celebrate the release of that year's Art Gallery Fabric line, Etno. 


I don't have any measurements or anything to go off of, but the pattern looks to be just flying geese and half square triangles with a single center square. I did just get a flying geese ruler for my birthday, so I just chose the biggest size it would make (4x8 inches, finished) and went from there. Any quilt block is adjustable, really, and half square triangles are probably the easiest to make any size aside from just cutting squares of fabric out. So, these are 4.5 inch HSTs and flying geese that are 4.5x8.5 inches before sewing together. They'll end up 4 inch and 4x8 to give me something about 40 inches square. 


The middle square is an on point block that I swear I did the math correctly on to get it to be 8.5 inches unfinished, but it ended up as an 8 inch block instead. There was enough of the geese fabric left over to just add some strips around the outside to make what will be a very pretty border on that square. I think it will look even better than I planned. Love it when that happens. All it needs now is some trimming and assembly. Not bad for an afternoon's work!

Friday, January 10, 2020

furry lining

This knitted cowl has been in my cabinet since 2011, I think I've worn it maybe once. It's made of a very squishy and weighty alpaca yarn in a gorgeous purple color that I just love. Problem is, it's super itchy. I don't know if it's an allergy or just sensitivity, but it has been uncomfortable enough that it's prevented me from ever reaching for this when I need a warm neck. What's a girl to do?? Obviously the answer was to line it with fur. 


I noticed that I've been consistently admiring lined cowls this year as I'm out and about. They're showing all sorts of fluffy fillings to cowls including faux fur. While I was out at the fabric store for other things I stopped by the remnant section and found a good chunk of this gorgeous brindled fur. I used some of it for a stocking Mom and I made for Jasmine, but we had plenty left over for me to try this out. 

The first strip I cut was an inch or so short. It fit the piece fine, but wasn't able to get around my head twice like I wanted for this longer cowl. I fixed that for the second piece (and now have a tube of fur to find another use for...) and sewed it in by hand with a simple whip stitch. I thought about machine sewing but the more I considered how difficult the fur was to sew for the stocking, the more I second guessed that and stuck with doing it manually. It turned out great and it's also super warm! Betting it gets a lot more wear now with this little addition. 


Sunday, January 5, 2020

holiday crafting

We were so lucky this holiday season to have my parents and nieces come stay with us for two weeks! Before we moved our trips involved a lot of going out and exploring the Peninsula and San Francisco in part because it's fun and also to be honest our place was small for guests. Now that we've moved further from the city and have more room, we had a lot of fun exploring the new town and local area as well as sticking around home to cook, craft, and putter around. It was marvelous! They left yesterday, but I've enjoyed looking back on some of the projects "the girls" got up to. 


First things first, Mom brought a kit to make a paper wreath for our French-ish bedroom. There was a lot of hot gluing involved, and Mom was an expert paper roller. The girls had fun trying on the cones as unicorns and seeing if we could put pom poms in them to make them ice cream cones instead. It turned out really well and is hanging in my craft room waiting for us to finish up our bedroom so it can find a good home. 


Oh, did I mention pom poms? We made a lot of pom poms. At first it was kind of just something fun to do with some scrap yarn I had. We even went out to Joann's to get some really fluffy yarn to make huge ones. We made long hangers on them and hung some from our chandelier in the dining room for a festive atmosphere. (Anthropologie, eat your heart out!) Then Mom and the girls pulled up some of their Pinterest ideas and showed me a bunch of pom pom wreaths. Well. That had to happen. 


Observant viewers will also see another project that I don't have great pictures of - unicorn ornaments! We had a lot of fun with glitter paint, sculpey clay, and hot glue to make ornaments that look like whimsical unicorn heads. And narwhals. And a kitten. They were well worth the effort. Back to the pom pom wreath. We spent a few minutes here and there over the days making pom poms until we thought we had enough to fill out a 16 inch styrofoam wreath. We've got sizes from about 5 inches all the way down to an inch and a half. I thought we'd hot glue them on, but instead we ended up using a combination of tying and pinning to get all the fluff balls fixed onto the wreath. It turned out looking super cute and is hanging up on my craft room wall where it makes me happy every day.


One of the last nights everyone was here, mom and daughter got to do a project together just the two of us. Mom had found a tutorial for these Danish stars and wanted to try making some. They take just four strips of 2.5" wide fabric to make and the only sewing required was to sew the strips in half longways so you had a thin strip with fabric print on both sides. Then essentially it was a folding game. We combined a few different prints I had into four stars, one for each crafting gal we had. 


When we were finished, Mom had the bright idea to hot glue a twine hanger into each of them so we could use them as ornaments. Mine quickly found its way to the tree. 


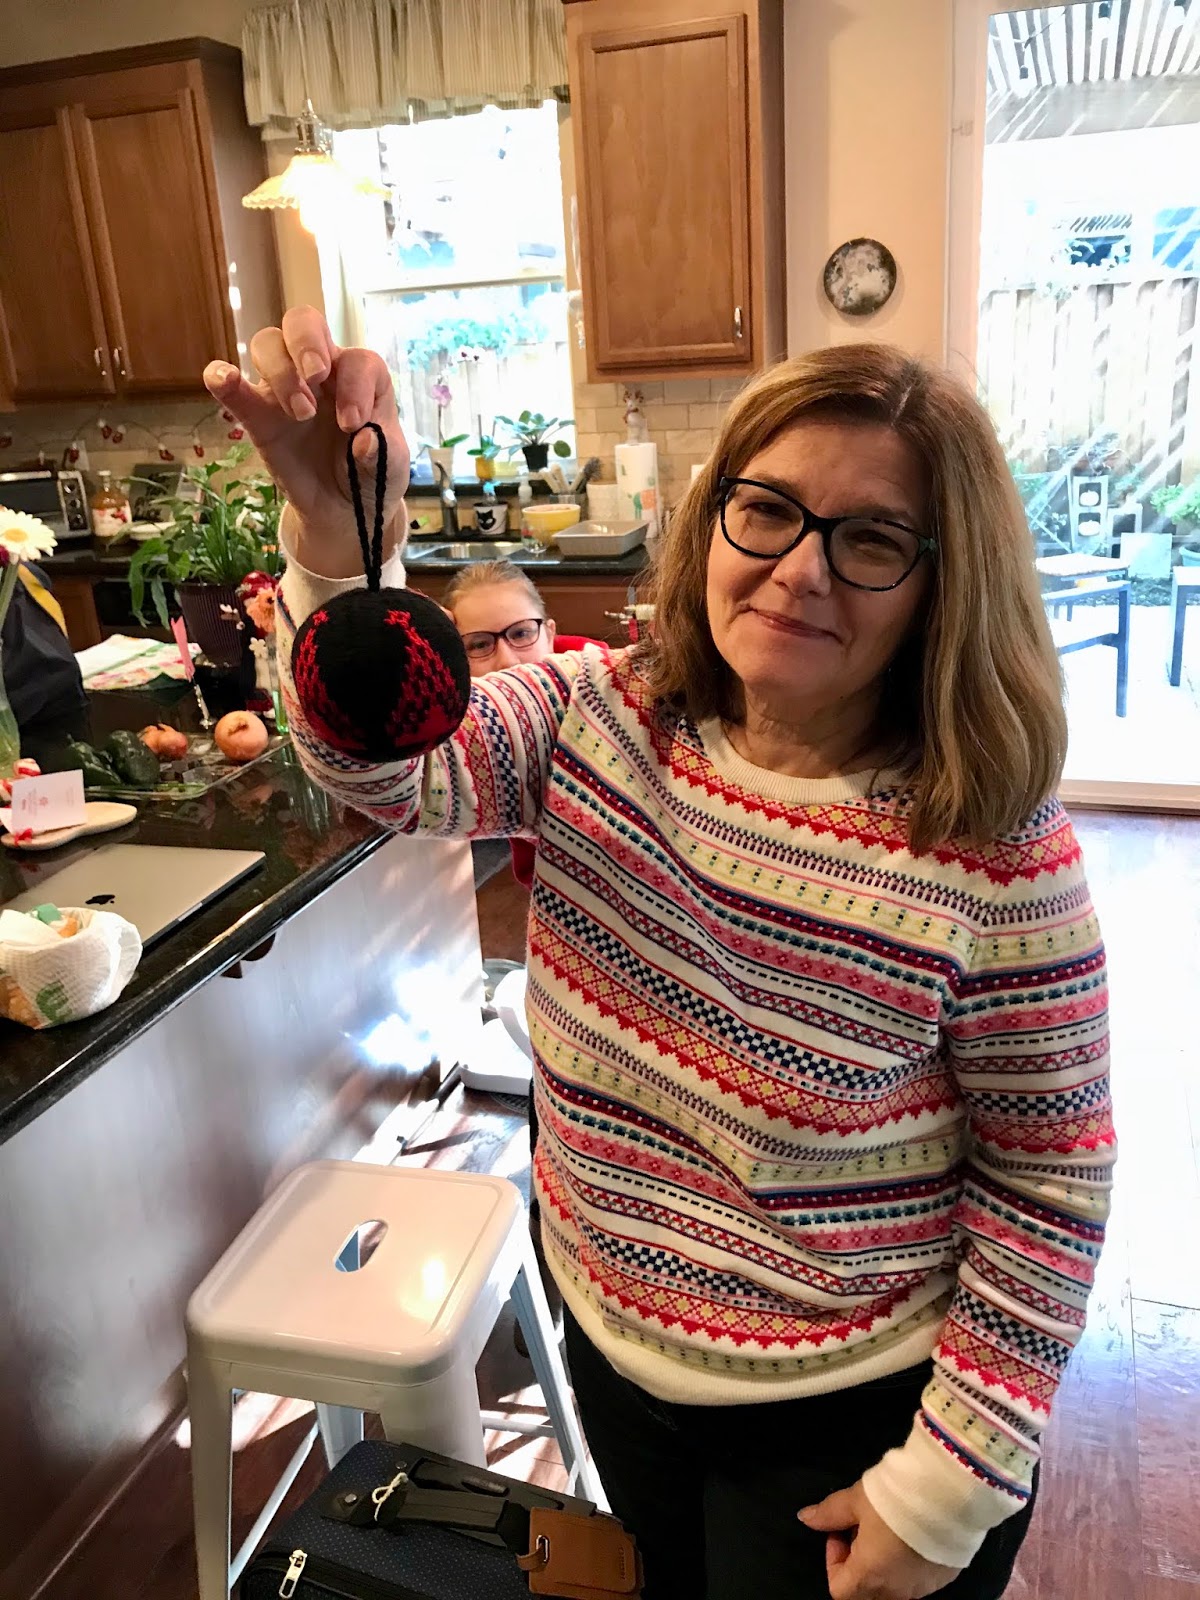
And of course, no trip is complete without a last minute project. This one finished literally minutes before everyone headed out the door to the airport. I wanted to make Mom a julekuler this year but wanted her to pick the pattern. I forgot until the last night - yikes!


Luckily, it only takes me a couple hours to make one at this point since I've made so many by now. Mom picked this pretty tree motif and I started it one evening and finished it off, stuffed it, and made a hanger the next morning. Phew! 


It was a wonderful holiday and end to/start to the year.