Thursday, October 31, 2013

newton sleeps, i sew

I picked out a pattern for another studio pillow. Back in August I made a block for the Bee Sew Modern bee that I ended up really liking. Having recently acquired a nice navy print from the clearance section at the fabric store and remembering I had this pretty little calico leftover from Anna's Pinwheels in the Park quilt, I had the perfect set of blues to pair up with a rather large scrap of linen. 


It took me most of an afternoon to cut strips, piece my way through these blocks, and trim them. I used 6" squares as the foundation and cut 1.5" strips that were 8", 6", and 4". My marks for lining up the first strip were made 2" from the corners. As a note next time I should cut 1.75" strips. I used a scant 1/4" seam and was just kissing the edge of the corner with that last light blue strip. It will be fine, but more wiggle room would be had with slightly wider strips. I might even like it better with 2" strips and 2.5" marks on the foundation. 


I had to layout a few squares just to see the effect of my fabric placement, since I sort of guessed what would look best in terms of order. I'm happy! Newton isn't quite sharing my excitement. While I sew, he snoozes on the deck chair in the living room. He won't be happy when the construction outside is done and that chair goes back outside! Poor kitty. We're so mean. 

Wednesday, October 30, 2013

studio beautification part un

This week I've been hatching plans for pillows to use on my daybed in the Sac studio. I started in on a bright and colorful pillow to brighten up the otherwise pretty neutral-looking side of the room where the bed is. Using navy/orange/purple in one pillow looks a little Halloween-y right now, but I'm sure I'll like it when all is said and done. 


I'm using a free paper pieced kaleidoscope pattern from Red Pepper Quilts. I hope by using primarily navy in the blocks that I can bring a bit more of that color into my living space --- I'm pretty good on purple ;) When the pieces are all assembled I have the fabric arranged so that the secondary star pattern is all navy and the scrappy purple and orange fabrics dance around the block in no particular order. 


So far the block is 16.5" square. I want it to snugly fit on a 24" pillow form --- I'm always bad at remembering how to size pillow covers to get the fluff that I want. I think maybe 22" finished? I hope I have notes on my dogwood pillows somewhere...  I think I will add a plain navy border around this rather than more kaleidoscope blocks. I'm liking 16 and keeping the center as a navy star rather than 25 which would make the center a purple and orange cross. That might be getting a bit obsessive. 


I also want to put a zipper in the middle of the back instead of using an envelope closure. We'll see how well that goes! After this is finished I have plans for one or two more large pillow covers. Of course, I can't decide what I want to do. Typical. 

Linking up to WIP Wednesday at Freshly Pieced. I'll be looking for inspiration in the rest of the links, for sure. 

Friday, October 25, 2013

Little Whimsy, finally complete!

This quilt has been a long time coming! I started it in April and then got stalled mid-year with that whole PhD thing. Kelly is a postdoc who worked with me in lab, so I'm SURE she understands that this is a little delayed in coming for her little one who is adorable and 3 months old by now.


I finished it off by piecing together 2.5" strips of leftover fabric from the Dutch Geese block to make binding. The binding was attached by machine, finishing with a zigzag stitch. The bright green of binding looks nice with the (even brighter!) pink background. 


This quilt was especially fun for me because I stretched. I improvised myself a simple setting for this single block that gave me lots of negative space to quilt in. The dogwood blossom quilting, my first large-scale fmq attempt, looks fantabulous and adds lots of texture that I'm enjoying looking at as I sit here typing. 


I couldn't be more pleased with the way this turned out, and I can't wait to wrap it up and give it to my friend, Mama Kelly. It matches her bright and cheerful personality, a trait I valued so much while working with her and which I am sure she will pass on to her little girl. 


43" x 58"

Linking up at Finish it up Friday!

Thursday, October 24, 2013

omg ombre

The other day I enjoyed a crafty break from thinking about 'The Move' and 'The New Job'. After spending the weekend packing up what I think might come in handy for weekdays in Sacramento and moving it all into the little apartment I wanted a break from organizing, planning, packing, putting away, you name it.  

Monday when we got back I was catching up on some blog reading and came across some really cute art made with paint chips. Hmmm... what better way to have art with exactly the colors you want? Genius. I also really liked the repetition of one shape in different colors and the gradient from light to dark across the artwork. The other great thing about paint chips besides coming in almost any color imaginable, is that they come in color families. For each color Behr has cards with darker shades (4) and lighter shades (3) of the same base color. That makes forming gradients really simple. 


I had a few canvases languishing in the stash cabinet so decided to pop over to Home Depot to pick up some paint chips. I also decided (with Mom's help!) on a star shape and found myself a paper punch. I think part of the visual appeal of the artwork is that all the shapes are identical, and I would have gone batty trying to cut out a bunch of stars exactly the same. Also I would have probably been unsuccessful. Paper punch it is!


The whole project was easy and downright fun. I punched out all of the stars in one color first and then decided on the six shades I wanted to use that gave me the most appealing (to me, of course) gradient from light to dark. I used foam sticky circles from the scrapbook section of the craft store to affix the stars to the canvas, and voila! Star art. 


I found it best to lay out all of the stars first and then pick each one up to add the sticky bits and put it back in its place. That way I avoided alignment issues from row to row and my stars were evenly spaced across the canvas. After auditioning several options, I decided to alternate the orientation of the stars across the rows but leaving the columns in the same orientation. It looked the most appealing to me probably because it minimizes the white space and nests the stars nicely while still having some order to the layout. 


When Dave got home I ended up going back out to change the purple... I had sort of thought the original one I picked had far too much pink in it, and Dave agreed. But after that slight detour, I now have these three lovelies to find a place for in the new digs, and it was quite a relaxing afternoon and evening of zoning out and getting my art project fix.

Wednesday, October 23, 2013

Tron cowl, completed

Whew, it's done. This cowl turned out quite beautifully. The fabric is dense but drapey, pleasantly squishy, and has a wonderful texture both for the eye and the fingers. It took me just over three weeks to finish, though I did not make it the full 10.5" wide called for in the pattern. Rather, I stopped and blocked it to about 6". It measures a whopping 56" in circumference, plenty to wrap around twice and have enough slack to fluff. 


Pattern: Array by Shibui knits (free on Ravelry)
Yarns: Cascade superwash 220 (space needle) and Cascade heritage silk (cerulean)


The cowl and this little lavender sachet were gifted to my wonderful and talented riding instructor for her birthday, and I'm happy to say she was surprised and happy to get something handmade. And very complimentary of my "secret talent". I have informed her that it was made for wearing at the barn and is machine washable. She doesn't believe me yet and is afraid she'll ruin it, but I'm sure she won't be able to resist the comfort of a cowl on some of our brisk foggy mornings we are heading into. I've worn my Portland cowl every morning for the last week or so. Cozy. 

I am not sure if I'd make this again with these yarn weights... I might try chunkier yarns to make the inches fly by faster. Unsure. I do really like the way it turned out, though, so it's definitely on my radar for future pieces. 

Monday, October 21, 2013

and why not?

Duvet covers, sheets, pillowcases, etc are all things I LOVE. I don't know why I'm so into linens, but it's noticeable enough that my husband just sort of laughs. It must be the large pieces of fabric that I can change out at will and which often have high color or pattern impact on a space. It's a thing, it doesn't have to make sense. 

At any rate, these items I love so much have always seemed to me to be the kind of thing you buy. I never really considered making them before. But a while ago I bought myself some fat quarters of fabric I really liked (the Floressence prints here, as well as some LillyBelle) and I decided I was going to make pillowcases out of them. Why? Why not. Pillowcases are useful! I use one every day. Also, it is a way to not have to cut up those lovely large scale feature prints that I seem to be drawn to. These florals are especially lovely and would have been so sad to cut up into little pieces. 


After looking at my favorites on Flickr, it seems that I'm drawn to unusual combinations of many prints. Soooo I took two fat quarters of Floressence meadow aroma print and set to finding some quirky prints to partner them with.  I used a tutorial I found some time ago at Cottage Mama to make banded cases with french seams. One modification I made was to use two fat quarters sewn together instead of 3/4 yard of the fabric for the main part of the pillowcase. Therefore, my pillowcases are not quite as big as those in the tutorial, but they fit my pillows just fine. 


The backs of the pillows are "calmer" prints that I can flip up when I'm not feeling so floral, a light gray curio on one and a light purple calico vine on the other. These two pillowcases are destined to brighten up my studio apartment in Sacramento that I have moved into this last weekend. (Hopefully by the time this post is up they'll be happily hanging out on the bed!) Something about these makes me feel like I'm spoiling myself a little bit... custom made pillowcases, ooooh! And why not? 

Friday, October 18, 2013

sachet solution

After riding in the California sunshine, helmets can get rather.... icky. Think about it, a big piece of foam wrapped in velvet around your head while you exert yourself beyond the craziest pilates tape you've ever seen on top of an animal you can stand next to in a snow storm to keep warm. Sweating bullets is an actual thing. I know. 

Anyway, a friend of mine at the barn mentioned to me that at her old barn they bought lavender sachets to pop in their helmets after they'd dried out. Knowing my non-horsey hobbies, she suggested that I could probably make them. Indeed! Birthdays for both this friend and my riding instructor are coming up in the next week, so I decided to whip up a couple to go with the knitted cowls I've been working on


The barn colors of the group I'm a part of are dark blue and silver/gray, so I pulled out my blue and neutral scrap jars. After all, they don't need to be big to fit in a helmet, and it's always satisfying to use up little bits and pieces for small projects like this. 


I cut strips of random widths from 1-2" and sewed them together into blocks which I trimmed into 4" x 4.5"rectangles. For the backs I took a long strip of linen I found in my scraps and cut it into shorter strips which I pieced in the same way. (this is not necessary... if I had linen scraps large enough to cut out big enough rectangle pieces, I wouldn't have bothered with reorganizing the strip of fabric)

I sewed the fronts and backs to each other, pivoting at the corners and leaving a gap of about an inch and a half or so open on one side. The corner seams were snipped, and the pockets were turned inside out then pressed. I use a crochet hook on most of my projects to poke out the corners; I find it doesn't poke through the fabric the same way I always seem to end up doing with knitting needles. 


Using a funnel I filled the sachets with lavender, maybe about 1/2 cup each, ish. This is really just preference. I wanted the sachets to be full but not too firm or too floppy when I closed them. Goldilocks... just right.

This lavender is quite amazing -- I bought it at a street market in Aix-en-Provence a couple years ago and it still smells! Like super strong. It has been keeping my craft cabinet smelling lovely while I find uses for it. And it's such a nice memory. I highly recommend purchasing craft supplies on trips!


Since I want these to be able to hang on hooks when the helmet is in use, I added loops of ribbon into the seam before I closed them up. I had every intention of hand sewing the opening closed, but when I decided on the ribbon I also decided to just top stitch it to make life easier. I stitched two lines close to each other to make it more decorative, but of course it's also functional in that the ribbon is quite secure. 


I quite like how these turned out. All told, they took maybe 20 minutes to make, and most of that was fiddling with the lavender. I hope they are well received (and that they help out our helmets)!


Linking up to Finish it up Friday

Thursday, October 17, 2013

curves.

Improv curves were the order of the month from Jacey, Love circle queen bee for October. She picked out a bright fall color scheme and asked for 6 small blocks. 


Improv curves are apparently not my thing; I had a hard time with them. I learned my lesson pretty quickly that gentle curves were friendlier than the more dramatic ones, though I tried to make blocks with a range of curvatures. I also had a lot of puckering issues in the beginning until I decided to abandon pinning and sew the pieces together 'freehand'. Strange, since the pins are supposed to help! I was happy to finish them this afternoon. It's not a block I'd make again for myself, but I'm sure the finished quilt is going to look fantastic!

Wednesday, October 16, 2013

pushing the envelope.

Last Friday morning was cool and cloudy so I did this: 


After quite a few months, I finally brought out the Little Whimsy quilt and confronted it. It had been folded up in the closet all basted, marked up with a grid of squares, and ready for quilting, but I didn't want to start in case I ruined it. I'm sure this is a familiar sentiment for many people who make things. 

I had decided to use so much solid in this design to encourage (force?) myself to try some new quilting out in a place where it could be featured. Seen! I wanted an orange peel looking design, and ended up settling on free motion dogwood blossoms. It sounded like a great idea, and even looked great on paper, but the very first time I've ever FMQ'd was in April on a teeny doll quilt. It looked ok, but it's an awfully big leap (literally and figuratively) from a doll quilt up to an actual-person-sized quilt. 


But I did it! After my first row of blossoms I seriously considered my seam ripper and randomly spaced straight lines the rest of the way. How did I ever think this was a good idea? My confidence had apparently gotten the best of me. I decided to try just one more row, and wouldn't you know it started to get easier. By the third row I was having fun and trucking along. A few hours later and I was done! 

I had to let go of perfection. That's a big deal for me! We scientifically-minded folks are notoriously detail-oriented and obsessive about getting it right. Whatever it is. Maybe that's what makes me so good in the lab, but certainly here it works against me. 


All of my dogwood blossoms are not created equal. The best one on the quilt top is that lovely little guy just up there, but certainly he's got some rather rebellious looking friends. But that's ok! Because you know, in a whole quilt full of blossoms, it's really hard to pick 'em out. The effect is about texture and the big picture. Yes, you'll see irregular petals when snuggled up in this quilt staring at the corner closest to you while drinking your tea (or milk... this is a baby quilt after all), but in the end that's character, isn't it. 

I did rip out an occasional *really* bad set of petals, but I did end up leaving my first row in. For me. It blends in just fine and it will be kind of fun to show Kelly: "Hey, I got better, see?" Honestly she will be so excited about the quilt she won't care about a wiggly petal or two. I can already hear her say "ohmygodaliadidyouknitit?" because that's what she always says. 


I used matching thread on the front (I'm not that brave!) and white thread in the bobbin. The white blends in nicely on the back with the prints and pops out my mistakes in the solid areas, but c'est la vie. I stand by my learning curve (it's really not bad at all). The area where the pieced block is has dense straight lines through it. I like the simple lines across the relatively complex piecing and the complex quilting on the ever so simple solid. 

I'm going to bask in this accomplishment for a bit before getting to the binding. 


Linking up to WIP Wednesday at Freshly Pieced

Monday, October 14, 2013

snowflakes in October

It's a little bit early to think about the holidays if you aren't a crafty person, but if you are, then it's about time. I'm still stuck on thinking about birthday gifts, but one of the gals in my hive of the Get Your Hex On bee is planning her holiday tree skirt. Good on her!


She sent us packages with holiday themed fabrics to baste up and stitch into snowflakes. Late last week I took advantage of a quiet afternoon, curled up in the sewing room, and got to work. A couple of hours later I had the first two snowflakes of the year! (in my zip code, anyway)


Friday, October 11, 2013

It's something daring, the Continental

This knit is going to be a birthday gift when I get it finished. Hopefully in a couple weeks. Wish me luck. Knowing the recipient is a busy gal who probably doesn't have the time for handwashing delicate pieces, I picked out a couple of sturdy yarns that can be thrown in the wash, Cascade 220 Superwash and Heritage Silk. Machine wash warm, tumble dry low. Disco. 


The pattern is Array by Shibui Knits, a neat textured cowl worked up in two different weight yarns. (It's free! Check it out!) It is an easy colorwork knit with dramatic results. The overall fabric is basically seed stitch, meaning lots of bumpy texture in the hand, and the colors worked in columns lend interesting visual appeal. The set-in striping sort of reminds me of bar codes -- perhaps an interesting idea for a modification! -- or, for some irrational reason, binary code. So I named it Tron. Because y'know that's people stuck in a computer. And the colors are near perfect. 

The downside? It's sllloooooowwwwww. The color effect is achieved by working stitches of only one color each round and slipping stitches of the second color. This means that every row actually requires two rounds to complete, and every other row is basically knit as 1x1 rib in terms of yarn placement. 1x1 rib is possibly the slowest knitting pattern EVER. Besides perhaps double knitting. What is this? 1x1 rib double knitting (ish). Didn't realize that before starting! Oops. Not ideal for a "quick knit" project, is it? But it looks so darn cool. And it's a perfect sturdy, modern, and stylish cowl.


In the spirit of being a problem solver, I have tried out several different knitting techniques on this piece including my normal right-handed 'flicking' (sore hand from moving yarn back and forth so much), back to traditional English 'throwing' (super slow), taught myself how to do a Norwegian purl (purl with yarn in back! nicer. left-handed.), and finally managed to pick up Continental style (winner!). 

I've been trying to teach myself Continental knitting ever since I picked up my needles again, but always had a hard time with the motions for the purl stitch. What did it for me was actually going through the Norwegian purl first. Yes, I was desperate! I didn't even know there was such a stitch. I've got Mad Google Skills. There is a fantastic video tutorial 
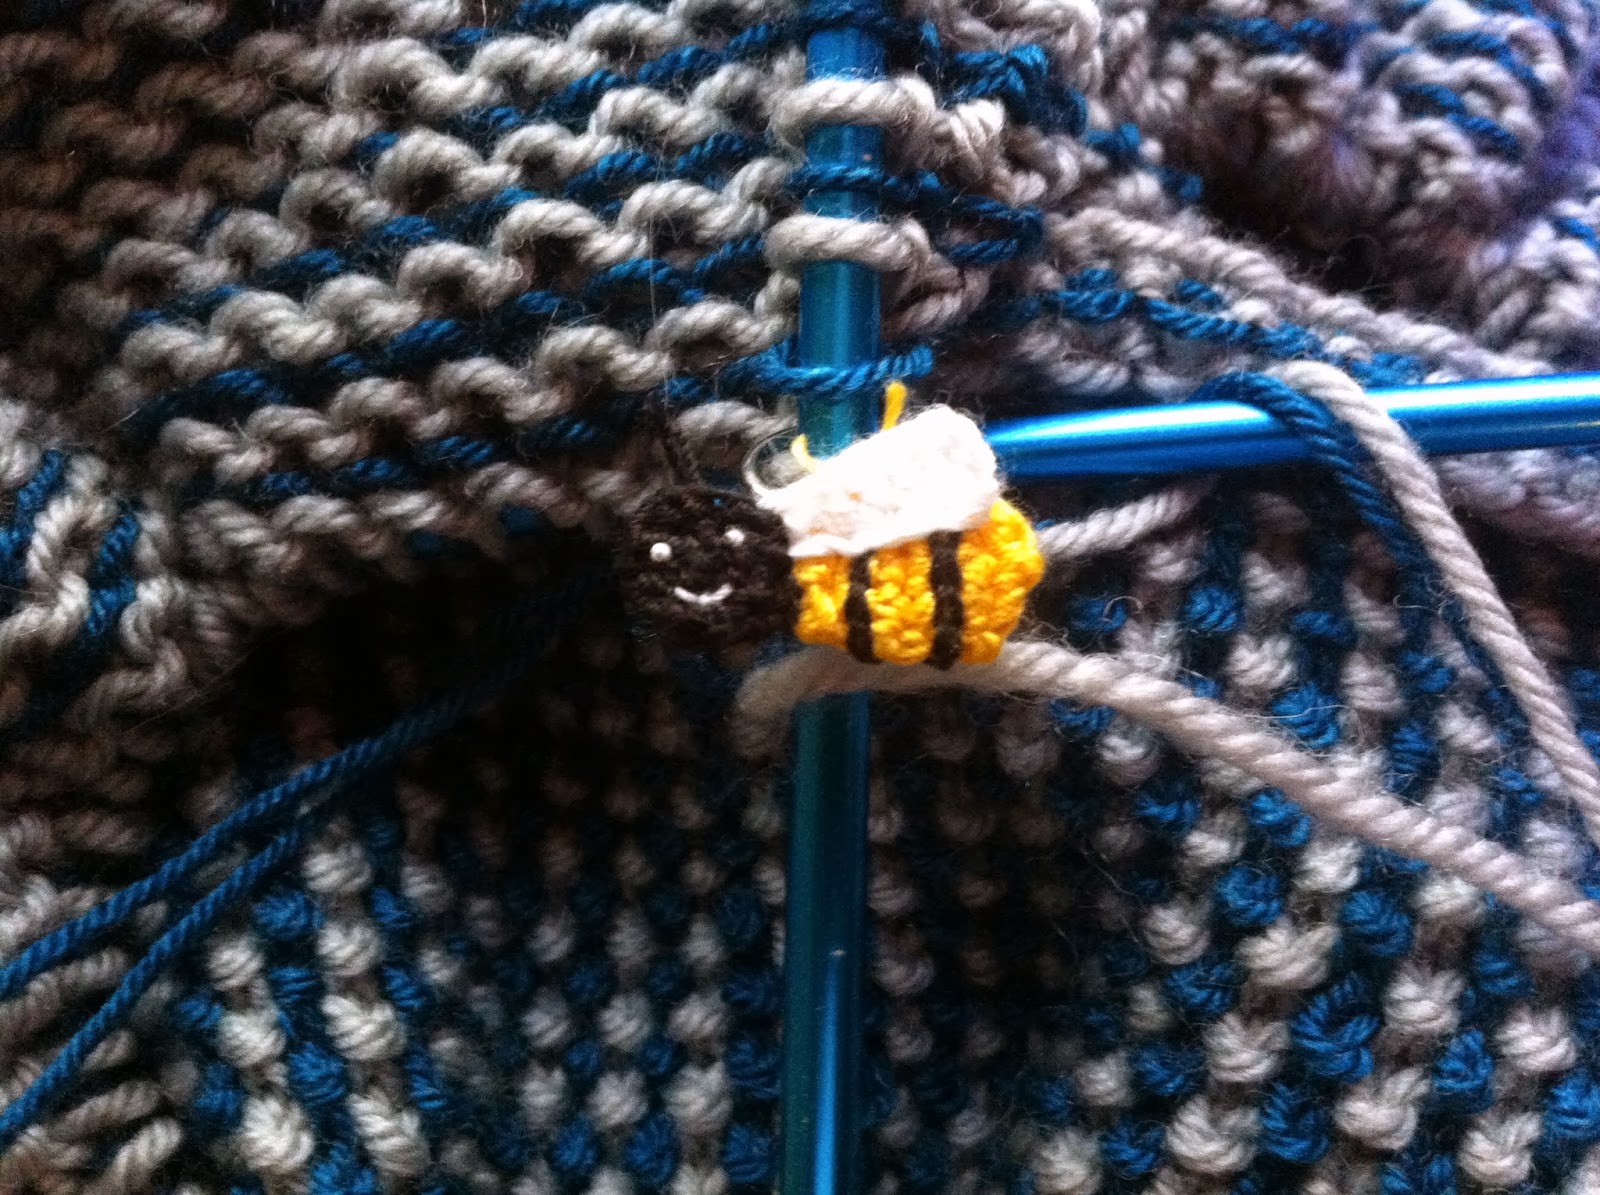
here. For the stitch, not the Skills. Anyway.  In an effort to reduce the number of movements to do a slip stitch to a Norwegian purl, I found myself naturally moving the yarn from back to front as I pulled the slipped stitch off the needle. And bam! Continental purl. Snuck up on me without even thinking about it. Progress is coming along much faster now. My stitch marker is pleased.


It's something daring, the Continental
A way of (knitting) that's really ultra new
It's very subtle, the Continental
Because it does what you want it to do

Continental knitting is fast for me now, but even the knit stitch used to be hilariously slow when I first tried it out (hence, learning flicking to go faster). My problem was controlling the tension of the yarn with my left hand. My normal wrapping technique (i.e. wrap randomly around my right fingers until it feels right) made the yarn too tight and awkward for the Continental style. In the end I don't wrap at all, and it somehow just works. That might be 90% of knitting -- just do something approximately the way someone else does until it feels right and gives you the same results. This was frustrating at first because the yarn seemed loose and floppy compared to how I knit right-handed, but with practice it's gotten more under control. I also find (not surprisingly) that my gauge is slightly looser, which has been a plus on this project -- the fabric lays nicer. Having worked a few shawl projects without a gauge swatch (what's that??) and being puzzled when they turned out smaller than I expected, I now think I must be quite a tight knitter with certain weight yarns (ahem, fingering), probably related to my aforementioned technique for keeping tension as I knit. 

For this project changing my knitting style really helped, kind of like the time I taught myself to knit from left to right for a project that had lots of stockinette stitch. It will be interesting to try this out on something else (probably a fingering weight shawl.....) to see if the looser gauge solves some of my problems and if I like knitting this way when there are no challenges of speed to overcome. 

Thursday, October 10, 2013

Pretty posy

This little lovely is a bee block for the Get Your Hex On bee. It's a simple grandmother's garden block, but was oh so fun to stitch up. The fabrics we received in the package look like retro reproduction prints and they are in bright, bold colors. I especially like how the pop of solid yellow in the center sets it all off. 


I will say, after having participated in this bee for the last several months, hand piecing a quilt top no longer seems so intimidating to me. I can see the appeal of having a little travel pouch full of shapes to sew together and seeing the project grow block by block over time. When it's done there must be such a sense of accomplishment being able to say it was all done by hand. 


I also see the wisdom of having a bee full of members help out. ;)

Wednesday, October 9, 2013

Fresh Sewing Day October

I really like looking back every month and seeing what I managed to get done, so I decided I'm going to write this type of post as the first one for each month whether it's the first, second, or last week by the time I get around to it.

Where oh where did September go??? I went to a wedding in Kentucky, rode lots and lots of ponies, officially got my doctorate (oh administrative-ness), spent a week away at a horse show, (almost) acquired an apartment in Sacramento, and hosted my folks for a week and half. (Ok, those last couple might have been into October. Still.) It flew by so fast it took me by surprise. And now it's already the second week of October. 


Apparently being unemployed, however brief, is quite time consuming. 

The other fun thing about looking back each month is noticing trends. September was apparently the month of yarn. Not only that, but the month of the cowl. I finished not one, not two, but THREE neck warmerly projects in the fleeting weeks of last month. And there was a bee block and a quickie crochet dishcloth thrown in for good measure. I finished my September hexagon bee block last night. I swear. 

4. Starburst dishcloth     5. Stripey bee block

With all that activity I really only brought out the sewing machine to do the one thing -- and that was early on in the month. I have been craving yarn lately. Maybe it's the (non) change of weather to Fall. Even in places where it gets only *slightly* cooler, the shorter days must trigger a switch in my brain that says "yarn please!" Plus I can sit on the couch with Dave (who already started HIS new job) in the evenings and chat because we don't commute together or work in the same building anymore. 

So, somehow it's the last quarter of the year already, and I'm going to embrace spontaneity instead of setting a goal for this month. Sounds like a good way to spend my last few weeks of leisure!