Showing posts with label christmas. Show all posts

Friday, December 15, 2023

giant julekuler

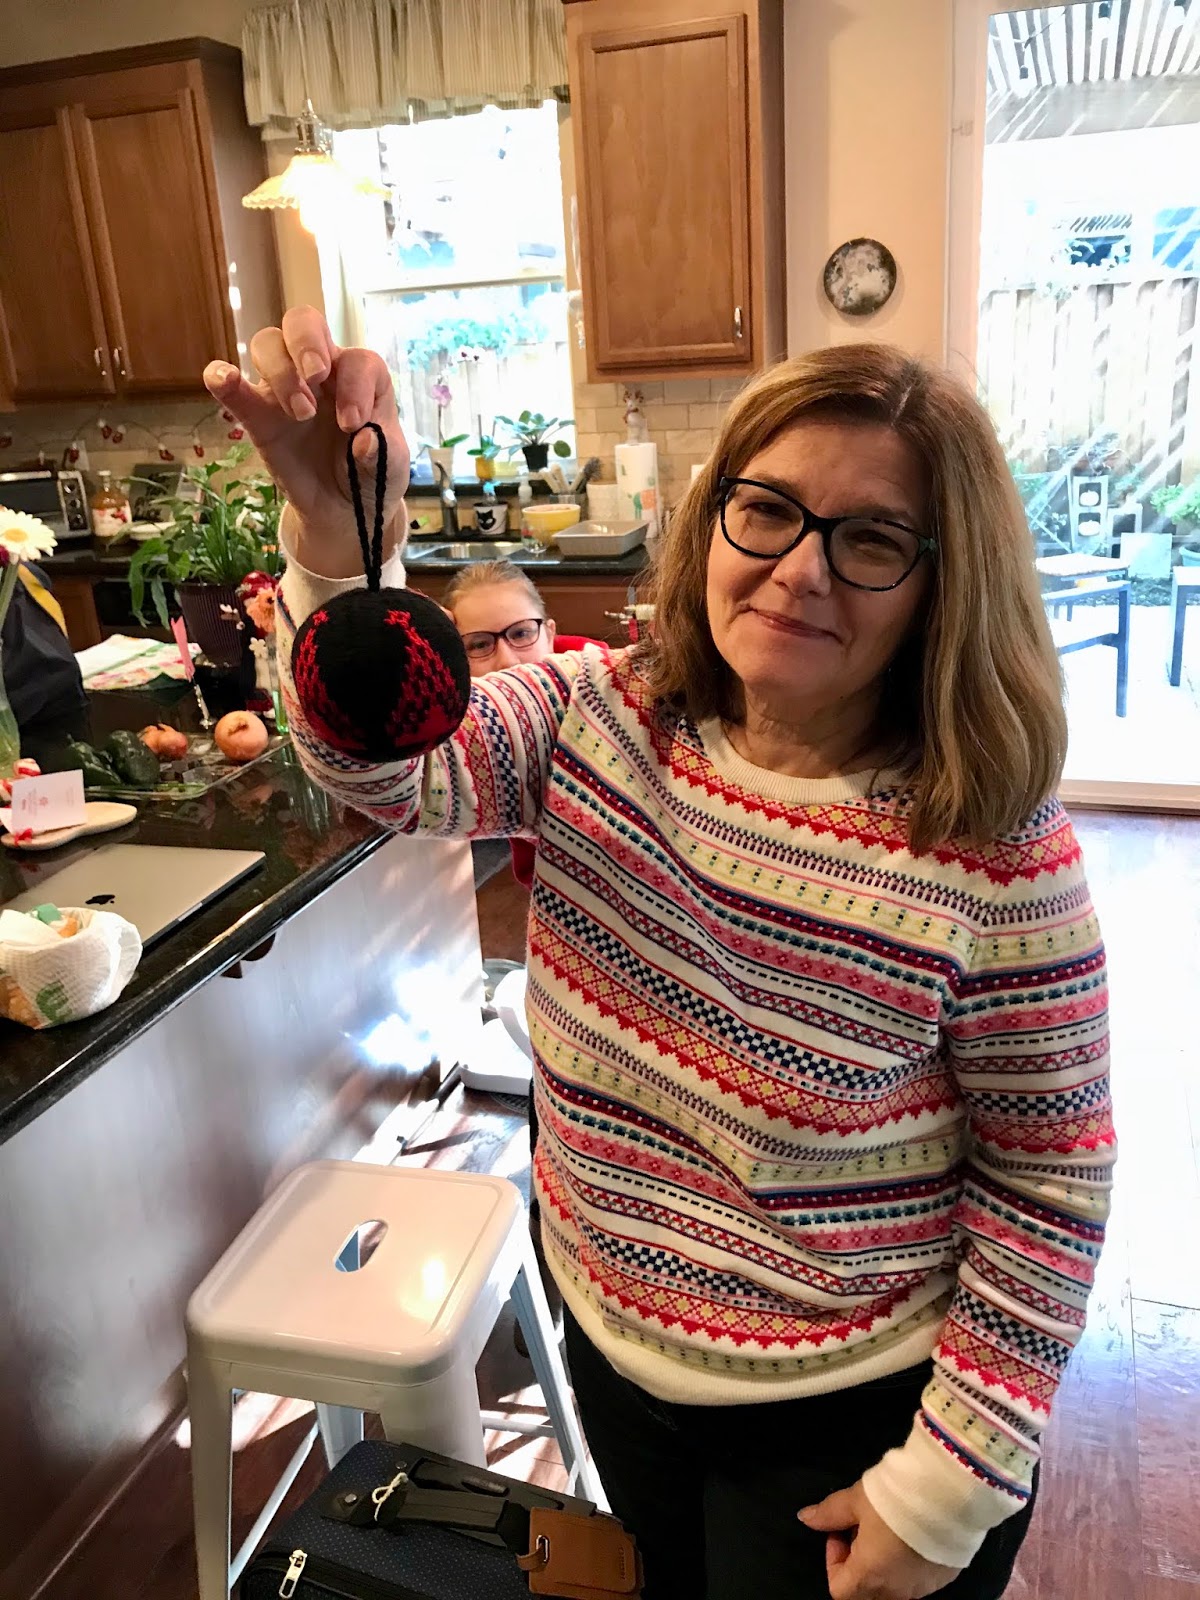
Made for Dave and the cats, who now live in Santa Cruz. The moose pattern has been his favorite, and we affectionately call Laker "moose" so it felt especially appropriate. Instead of the usual size, I used some chunky yarn leftover from a pair of hats we've got and some vampire-slaying needles. It turned out looking great, I should keep that in mind for more. 


Wednesday, December 23, 2020

eve eve ornaments

We got up to more ornament making mischief, this time with a no-sew quilted ornament mom found on Pinterest. I just love the way these look.


Mom went festive red and green with hers and I dug through my scrap squares to find some coordinating prints. This one is for Da Bears. 


And here is one of the Christmas color balls. The pattern has each round have the same color all the way around, but we experimented a little bit with alternating prints on the middle round to add a bit more interest. 


This was the first one I did, and the colors kind of remind me of the aquarium in Monterey. Boy we miss going there! 


It takes a styrofoam ball, 200 pins (plus some for the ribbon), and a little bit of ribbon to go with a stack of fabric squares to make these. They are quite addictive to make, and you can definitely make them while watching football and not mess up. We finished our final touches today, Christmas Eve eve and they’re ready to go on the tree. 

Saturday, December 19, 2020

omg it’s under the tree

Approximately one million nine hundred and seventy two stitches later, it’s done! Last time I left this, it was August and I had plenty of time until we put the trees up. Ha! The stack of hexies definitely hung around in my “to do” basket until at least early December. 


The issue I was having was this: I was feeling much too lazy to hand stitch them all together, but I didn’t think that zigzagging along all the seams would look very good, even if I used gray thread. Soooo. They sat. And sat. And sat some more. I think the fact that we actually had the trees up and last year’s (perfectly fine) tree skirt was under the little tree upstairs was what got me going. So the next many evenings and afternoons were spent whip stitching these all together. I finished one afternoon when Mom and I were in the studio and she snapped this picture.


As I went along, I had to refer to a photo of the whole thing put together because I decided to go with the completely mixed up version, and that’s much harder to remember what goes where. I used hand quilting thread and a quilting between to stitch and used a simple whip stitch, just as if I were doing English paper piecing. The cream thread is visible on the back, but not on the front and that’s where it matters most. I’m pretty happy with how it turned out. To be honest, when I finished it (under the wire) I thought it looked too small and was pretty bummed. But it’s a perfect fit under our little tree that we put on the blanket chest. And it’s kitten approved! It took him a few days to want to sit on it though, I think all the prints kind of blew his mind. 

Friday, December 18, 2020

Holiday quilt

Of course one of the first places Mom and I capered off to when she got here was the fabric store. Despite being the middle of fall, there was already lots of holiday fabric out on the shelves. They had a super good deal on the flannel prints, so I couldn’t resist grabbing a yard or two (or three...). 
 

I’ve been admiring some blankets I’ve seen that are buffalo plaid using related prints. This blanket is an homage to those I’ve seen. The front worked up very quickly, as you’d imagine. It took me some time to want to sit down and sort out a back for it. I do like what I came up with though! I used up the rest of the flannel prints, a few more pieced square panels I had left over, and then raided the cabinet for some red and neutral fabrics to finish off the size I needed. I especially like that bit of corduroy in the corner. 


It’s a holiday blanket, but I wanted to keep it red with neutrals rather than including the green. The plain squares are the linen blend I just love using in all my work, and I used some red and black jelly roll strips from a holiday roll I picked up at some point this season to bind. It never dawned on me just how EASY using jelly rolls as binding is. Save that little nugget of wisdom for later! The quilting was simple grids outlining the seams. Every time I sit down to quilt now I feel like I should be practicing more free motion, but honestly that is going to have to wait a while until I’m willing to use it on a bigger piece like this. 


The front only took a yard of the black/red camping print, a yard of the linen, and two yards of that adorable woodland creatures print. The flannel was quite easy to work with. I wonder why we don’t think of using it for quilting more often? There are so many cute prints. (I may find out when this is washed....) So, next time there’s a silly good sale on flannel prints at the fabric store I have a great excuse to pick up a yard or so of some irresistible ones. 

Thursday, December 10, 2020

2020 ornament diy

It’s becoming an annual tradition. Last year, we made sparkly unicorns with flower crowns (see that turquoise one in the picture?). This year, Mom found a pattern for these totally cool fabric pinwheel ornaments. We raided my stash of “precut” 5-inch squares for these, and it was a super fun project that came together pretty quick. And a bonus? Cat proof. They won’t break if your enterprising cats decide they must take it off the tree to look closer. 


While the most difficult part was sewing on the points, it was only because pushing a needle through that many layers of fabric quickly became a job for pliers. Once we figured that out, the difficult part was picking buttons and ribbon to finish them off. The pinwheel is made up of prairie points folded from 5-inch squares. So once the ironing is done, everything comes together fast. I liked the fact that we could just sit down with my stack of 5-inch squares that I’d already cut from scraps earlier this year. Big pat on the back to me for spending all the time to do that. It makes me more motivated to do the same to the next bag we’ve accumulated from when we cleaned up post-painting. 

I will admit, I was skeptical at first but they are awesome. And they’re pretty big, too! Each is a bit larger than would fit in the palm of my hand. The possibilities for color play are endless here. I could see a rainbow, a gradient, alternating complementary colors.... so many choices. I’m also curious what would happen if I tried using a gradient of sized squares to get something looking like a nautilus shell. Do that in marine-colored batiks? Could be pretty cool. 

Saturday, November 21, 2020

it’s julekuler season again

It’s just after my birthday, so you know what that means - julekuler season is upon us! I got this book for my birthday a few years ago and have enjoyed making a few baubles a year since then. This year is no different. These two I started in August when I just couldn’t resist the siren call of this book on the shelf. Now that the tree is up, it’s REALLY time!


I’m still working off the same yarn I’ve used before; I keep it in it’s own little project bag so I’m ready to go whenever the fancy strikes. This year I had a rocking horse to make for a friend who is moving (who also happens to have a black horse... not a coincidence), and I decided to make patterns that I’ve enjoyed previously.


These knit up pretty quick, in a few hours, but I find that the quickest and most fun ones to make don’t have long color runs requiring a lot of twisting. The horse is an exception because well it’s a horse. But other than that I really enjoy the patterns with a lot of... pattern? Whatever the right word is, here’s a few that are done already.

Thursday, August 27, 2020

julekulers begun

Soooo week 23 post quarantine went by in a flurry of anxiety because of the wildfires. Ick. Not much of anything except reading CalFire updates, worrying, and more worrying was happening until just a couple days ago. We finally found a little bit of comfort the last few days in both the fact that the fires are getting more under control and (for me) in knitting these little guys. 


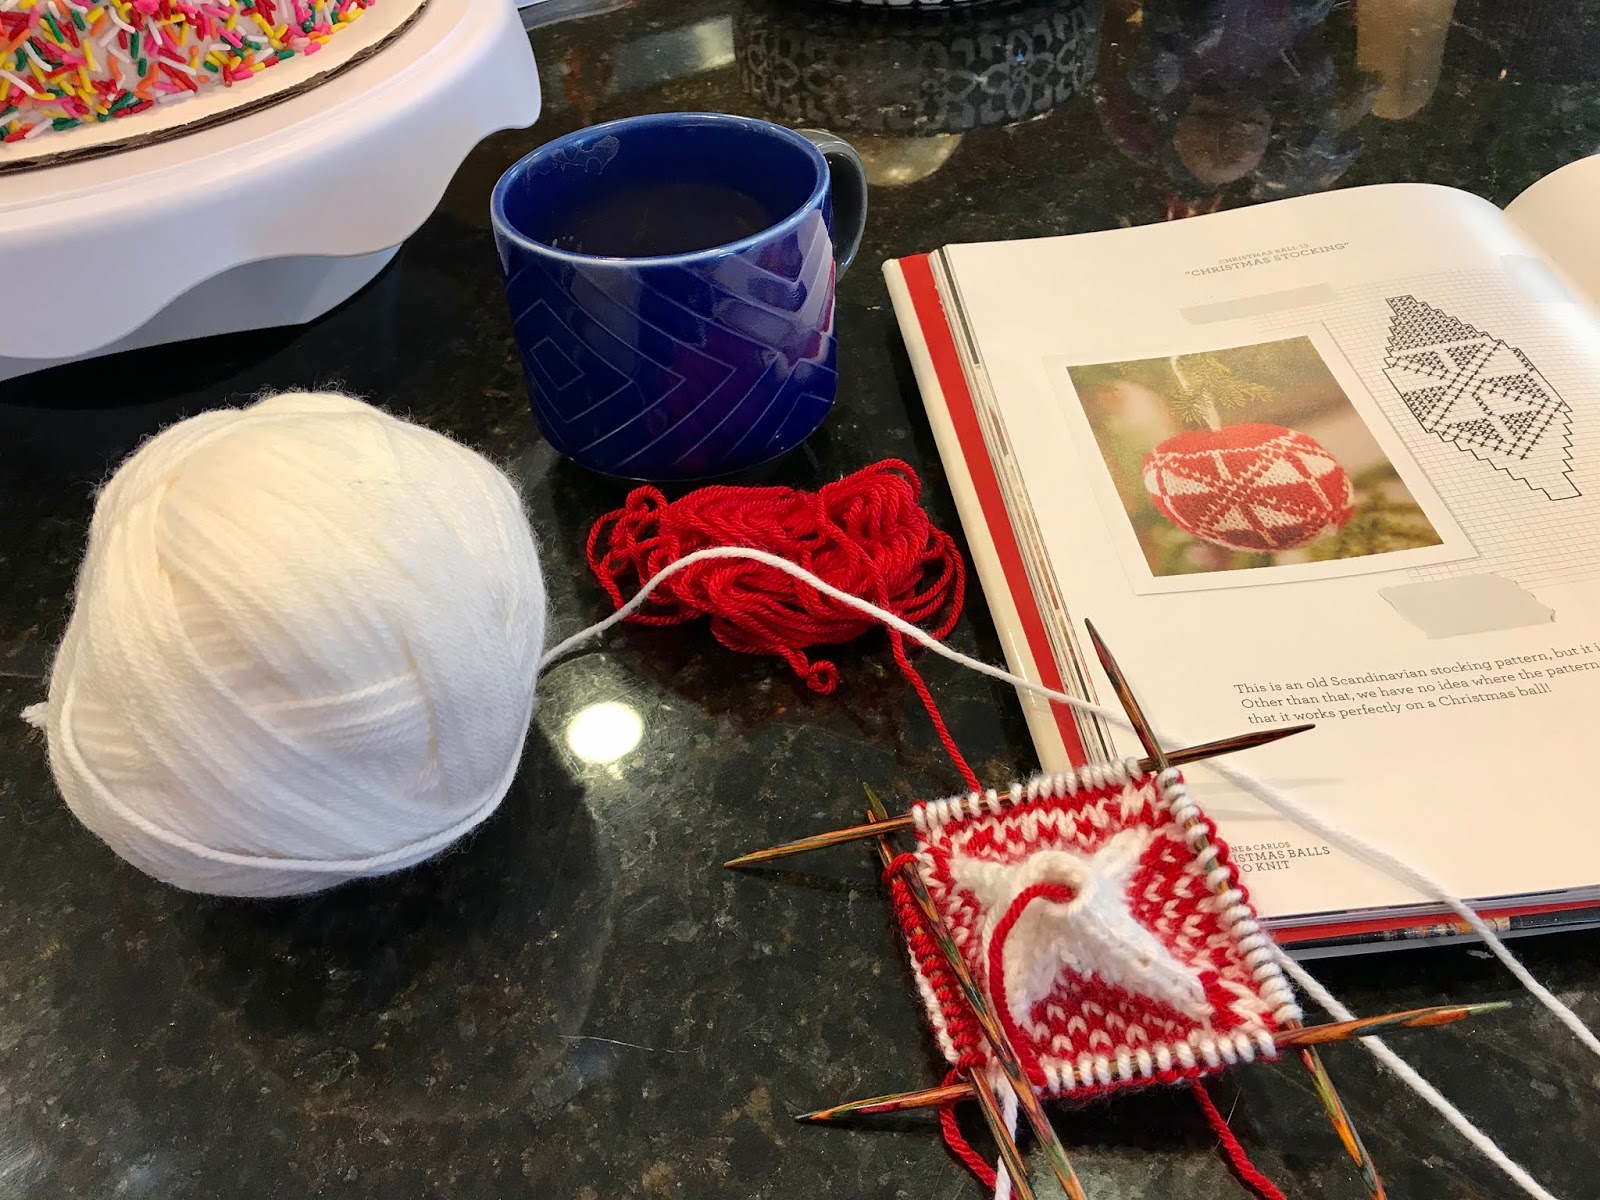
Julekulers are definitely comfort knitting! They’re quick and fun, and I really enjoy reading the little blurbs about the different patterns. I’m not sure how many of these will get made this year, but I’ve got a good start already. I’ve been mostly browsing through the book looking for patterns I haven’t made yet. I’m finding that I enjoy the ones where there isn’t as much behind the scenes twisting of the yarns. The red and white one had short enough color runs in each row that there was NO twisting. It went much faster and I was much less frustrated by tangled yarn. I would like to try some in chunkier yarn and in leftover colors that aren’t necessarily holiday related, too. I think they would look quite pretty as well. For now I’m sticking with holiday baubles for gifting. Can’t wait until I have a bowlful. 

Monday, August 3, 2020

week twenty

August seems like a long way away from March. In fact it is just as far from August to late December and the holidays. I guess that’s a bit of a comfort that not much time has passed since COVID barged into life in a big way. Though then I suppose it’s a sign that there isn’t that much time until Christmas. Yikes! Alternatively, there’s a lot of time until Christmas, and it’s been a correspondingly long time since we’ve been hunkered down doing our best to stay away from people we don’t live with? Nevermind, I’m not sure either of those scenarios brings any comfort. 


I finished my hexagons for the new tree skirt last week, and those little piles of pressed puffs are very satisfying. I considered hand stitching them but decided to try a few top stitched and then quickly realized everything was gonna be ok. They looked pretty questionable pinned down. I wasn’t sure things were going to line up at speed in the machine vs being able to get it ‘just so’ with hand stitching. Turns out I worried for nothing. It’s just fine. I am still glad I used thread that matches the background fabric.


My current issue I’m having is that of layout. I (incorrectly) figured in my head that with three prints I would be able to lay this out without duplicates touching each other if I did equal numbers of each print. Ooooops. That turns out to be just wrong. Alas. So now I’ve got a few choices of layout, or as my mom so astutely observed, I could just make a few more hexagons to make it work and use the others for something else. 


I’m not in love with any of the designs I’ve come up with yet. I like the mixed up look in the first picture, and I also like this second layout with the red focal points on the outside and the candy cane stripe in the middle. I definitely don’t like this last option with organized wedges. It just doesn’t read right to me. 


What I might try to do is make as much of the shape as I can with everything truly mixed and see if I like the way it looks compared to the second picture. In the second design, I could just take the two innermost red hexies out, make one more each of the candy cane and trees, and try the innermost round as an alternating blue/white round. At least there’s plenty of time until Christmas! Or is there?? 

Saturday, July 25, 2020

Christmas in July

I was planning on getting a start to my julekulers for the year today, but oh well! I found another project that grabbed my attention even more. There's always the rest of July to get those going. This one I got started last week after finishing up yet another quilt top (photos to come) and still wanting more fabric play. I have been really enjoying the Missouri Star Quilt Company's tutorials on YouTube lately, and this is something I saw there. It will end up being a tree skirt made of hexagons done in a unique quilt as you go fashion.


I purchased the pattern and templates from MSQC, but everything else I had in my stash already. The batting is scraps from other projects, and those holiday prints I bought at least a couple of years ago meaning to make myself a patchwork tree skirt out of them. I guess it's finally time! That gray looks familiar because it's another chunk off of the four yards I bought the other week when I needed background for my brother's quilt. That extra yardage is handy, like I said. Cutting these out didn't actually take very much time despite the extra complexity of cutting around templates. Strategic folding of fabric strips made quick work of it.


Once I had the stacks ready to go they got popped into my big fabric basket that I've been using for "active project stuff". Mom and I try to have a call every week to chat and craft together over video - which is super cool - and so I had these out this week while we talked. I got almost a third of them pinned up with the pins I have and they are ready for pressing and sewing. I'm really interested in seeing how they start to shape up as I get going. Right now they're looking a little rough! A good press should do the trick, I hope. I thought about hand stitching them together like English paper piecing, but if I want it done by this holiday season I think I'd better use the machine. 


Sunday, January 5, 2020

holiday crafting

We were so lucky this holiday season to have my parents and nieces come stay with us for two weeks! Before we moved our trips involved a lot of going out and exploring the Peninsula and San Francisco in part because it's fun and also to be honest our place was small for guests. Now that we've moved further from the city and have more room, we had a lot of fun exploring the new town and local area as well as sticking around home to cook, craft, and putter around. It was marvelous! They left yesterday, but I've enjoyed looking back on some of the projects "the girls" got up to. 


First things first, Mom brought a kit to make a paper wreath for our French-ish bedroom. There was a lot of hot gluing involved, and Mom was an expert paper roller. The girls had fun trying on the cones as unicorns and seeing if we could put pom poms in them to make them ice cream cones instead. It turned out really well and is hanging in my craft room waiting for us to finish up our bedroom so it can find a good home. 


Oh, did I mention pom poms? We made a lot of pom poms. At first it was kind of just something fun to do with some scrap yarn I had. We even went out to Joann's to get some really fluffy yarn to make huge ones. We made long hangers on them and hung some from our chandelier in the dining room for a festive atmosphere. (Anthropologie, eat your heart out!) Then Mom and the girls pulled up some of their Pinterest ideas and showed me a bunch of pom pom wreaths. Well. That had to happen. 


Observant viewers will also see another project that I don't have great pictures of - unicorn ornaments! We had a lot of fun with glitter paint, sculpey clay, and hot glue to make ornaments that look like whimsical unicorn heads. And narwhals. And a kitten. They were well worth the effort. Back to the pom pom wreath. We spent a few minutes here and there over the days making pom poms until we thought we had enough to fill out a 16 inch styrofoam wreath. We've got sizes from about 5 inches all the way down to an inch and a half. I thought we'd hot glue them on, but instead we ended up using a combination of tying and pinning to get all the fluff balls fixed onto the wreath. It turned out looking super cute and is hanging up on my craft room wall where it makes me happy every day.


One of the last nights everyone was here, mom and daughter got to do a project together just the two of us. Mom had found a tutorial for these Danish stars and wanted to try making some. They take just four strips of 2.5" wide fabric to make and the only sewing required was to sew the strips in half longways so you had a thin strip with fabric print on both sides. Then essentially it was a folding game. We combined a few different prints I had into four stars, one for each crafting gal we had. 


When we were finished, Mom had the bright idea to hot glue a twine hanger into each of them so we could use them as ornaments. Mine quickly found its way to the tree. 


And of course, no trip is complete without a last minute project. This one finished literally minutes before everyone headed out the door to the airport. I wanted to make Mom a julekuler this year but wanted her to pick the pattern. I forgot until the last night - yikes!


Luckily, it only takes me a couple hours to make one at this point since I've made so many by now. Mom picked this pretty tree motif and I started it one evening and finished it off, stuffed it, and made a hanger the next morning. Phew! 


It was a wonderful holiday and end to/start to the year. 

Friday, December 13, 2019

Julekuler 2019

I've been busy making little potato chip knitting projects (i.e. julekuler) among the other crafty things that have been happening lately. These are great things to sit down to a football game with, and there's lots of that going around this time of year! This is the second year of julekuler knitting from the Arne and Carlos book Dave got me last year, and it's just as fun this time around as it was the first.


The patterns above are: Bird on Branch, Greek Cross, Xs and Os version 1, Hearts, Secret Rose, and Handcraft Border from the book. I wanted to try out some of the patterns that had lots of cross/diamond-like patterning to them. I think those are my favorite type of designs. And of course, the bird I made in red as a cardinal, in my mind at least. I miss hearing their chirps since we don't have them out here in California. 

The ball below is a very special one I made for Andrea, who is a puppy raiser for an organization that pairs service dogs with veterans and autistic children. Elwood was a black lab she had for almost two years and is now paired up with a teenage boy helping him through life. He was a wonderful dog and it is so rewarding knowing he has a job at last! I found this paw chart online and adapted it for the julekuler pattern. If I had to do it over again, I'd leave the toes all black rather than trying to checker them, but this one looks cute too. 


They were all steamed, stuffed, and finished this afternoon. Some may be destined to be gifts, but the majority we will keep and grow our collection year over year!

Monday, December 2, 2019

be our guest

Last week I went stash diving. While it's all very well to have a stash of fabrics to make quilts from, sometimes it's nice to grab some fabric and play with smaller projects and bigger prints. Each of these prints wouldn't have been great to cut up, but work out great on big drawstring bags. 


We are super excited that we will have a house full of family for the holidays this year, and because I think it's fun I decided to make everyone their own laundry bag for traveling. I love the one I made myself - I take it to all the horse shows and every other trip I go on - and Dave has a couple he likes to keep with his suitcases too. It was fun to pair up prints and see how these each came together with their own personalities.


I think the hardest part is picking the fabrics out, and after that it's just a few seams, some pressing, and a bit of top stitching to a finished bag. Lumiere would be proud!

Tuesday, November 26, 2019

hipster hoopla

Inspired by finishing one hoop, I pulled out the supplies for yet another I've had waiting to be made for a while. I can't recall when I got these cute wooden pieces, probably a couple years ago after the holidays. With them I also had two remnants of flannel plaid. I chose this green one over a more simple red and gray because I liked the extra contrast and smaller patterning better for this. 


This was pretty simple. Originally I had the fabric in the hoop so the squares were just straight across and vertical like a piece of graph paper, but somewhere along the way I decided to rotate it so they were on point. I cut the fabric a couple inches away from the hoop (much more overhang than the flower hoop) and used pearl cotton and a running stitch to cinch it taut. Then all I had to do was hot glue the wooden ornaments to the fabric. I have to say, the hot glue gun smell reminds me so much of being a kid -- that's what you get when you have a really crafty mom!


Instead of leaving the back of this one open, I found myself a piece of felt and used a blanket stitch along the edge to close it up. I used red pearl cotton, which looks quite festive. It's funny it took me so long to get started on this because it didn't take very long at all to finish! Very happy with the result, and I bet Dave has totally forgotten I was going to make this for him, so it will be a nice surprise at Christmas. 

Tuesday, November 12, 2019

it's that time again

It's heeeeeere! Julekuler knitting season is once again upon us and I'm starting up with gusto. I love knitting up these little guys - instant gratification that can be finished in just a few hours and there are so many different patterns in this book to keep things interesting. 


I've already gotten a few traditional designs knitted up, and I experimented with a three-color puppy paw. If you can find a chart of something online or set a design into graph paper yourself, then you can stick it on a julekuler. 


I'm a big believer in leaving November for my birthday and Thanksgiving rather than getting on the Christmas train early, but for these I make an exception. Onward!